A patio from four hundred old bricks
A pile behind the shed, a proper base and a herringbone pattern that will outlast us.

- Where
- Size
- Room
- Budget
- Time
- Style
Ade's back garden had a cracked concrete patio and a pile of old bricks behind the shed, left by a previous owner. He turned the bricks into a new patio himself, over three weekends, and spent less than £300 on everything else. Here is how.
Why reclaimed bricks
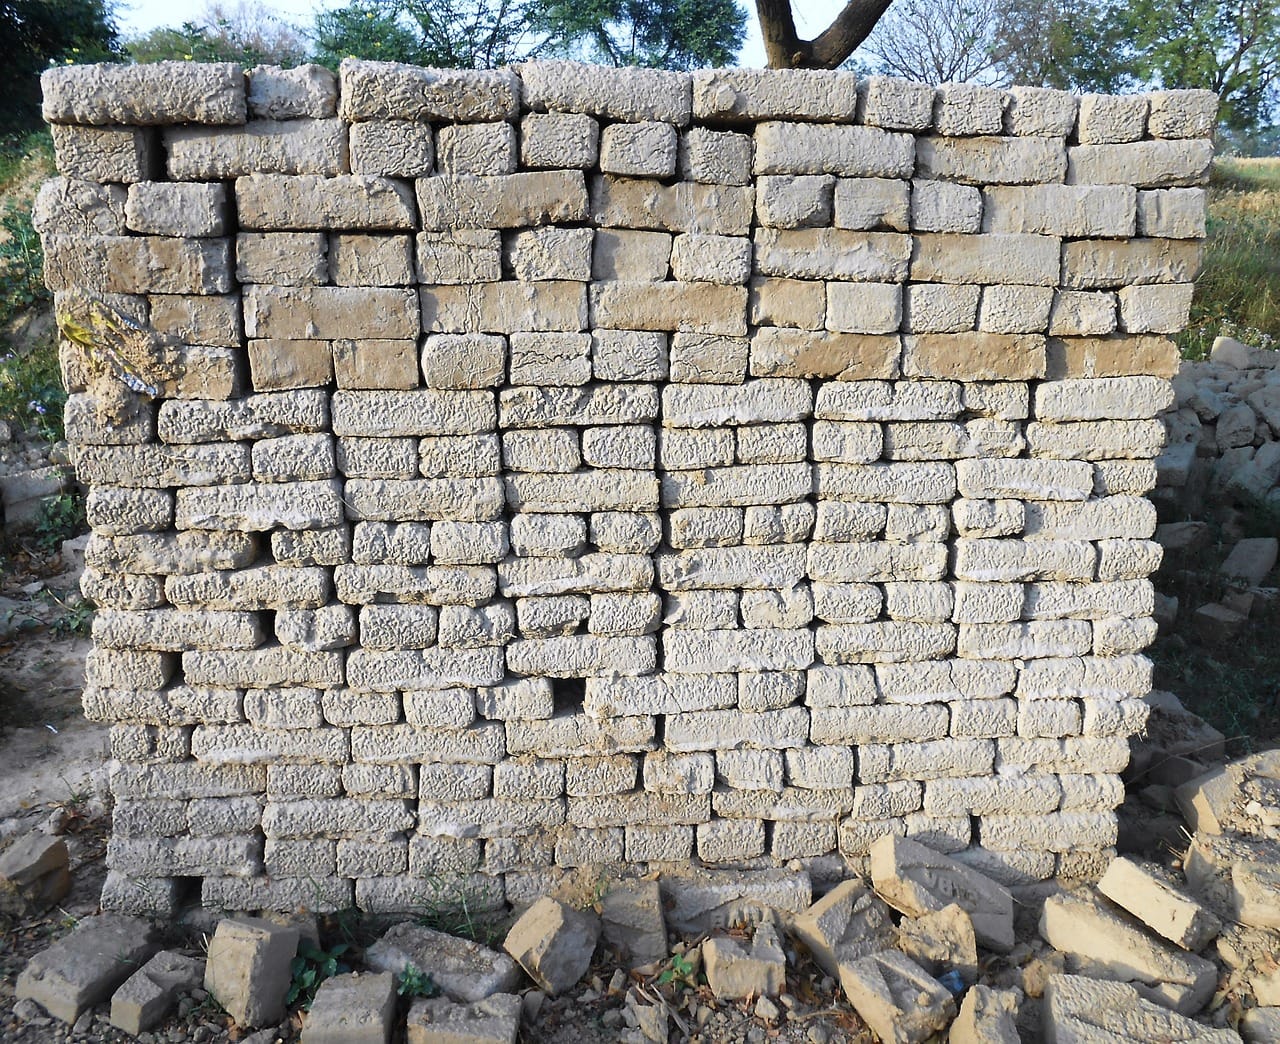
Old bricks have colour and character that new ones take decades to develop: soft reds, browns, the occasional black mark from a fire long ago. They are also free, if you are lucky enough to have some, or cheap from reclamation yards. And reusing them keeps them out of a skip.
The one thing to check is that the bricks are hard enough for paving. Soft, crumbly bricks will break up in frost. Hard, dense ones, often called engineering or paving bricks, last for generations.
The base
A patio is only as good as what is under it.
- Dig. Remove the old concrete and dig down about 15 centimetres.
- Sub-base. Lay 10 centimetres of crushed hardcore and compact it firmly.
- Sand. Spread a layer of sharp sand, about 3 centimetres, and level it with a straight board.
- Slope. Give the whole patio a very slight slope away from the house, about 1 centimetre per metre, so rain runs off.
Spend two weekends on the base and one on the bricks. Never the other way round.
Ade Okoro
The pattern
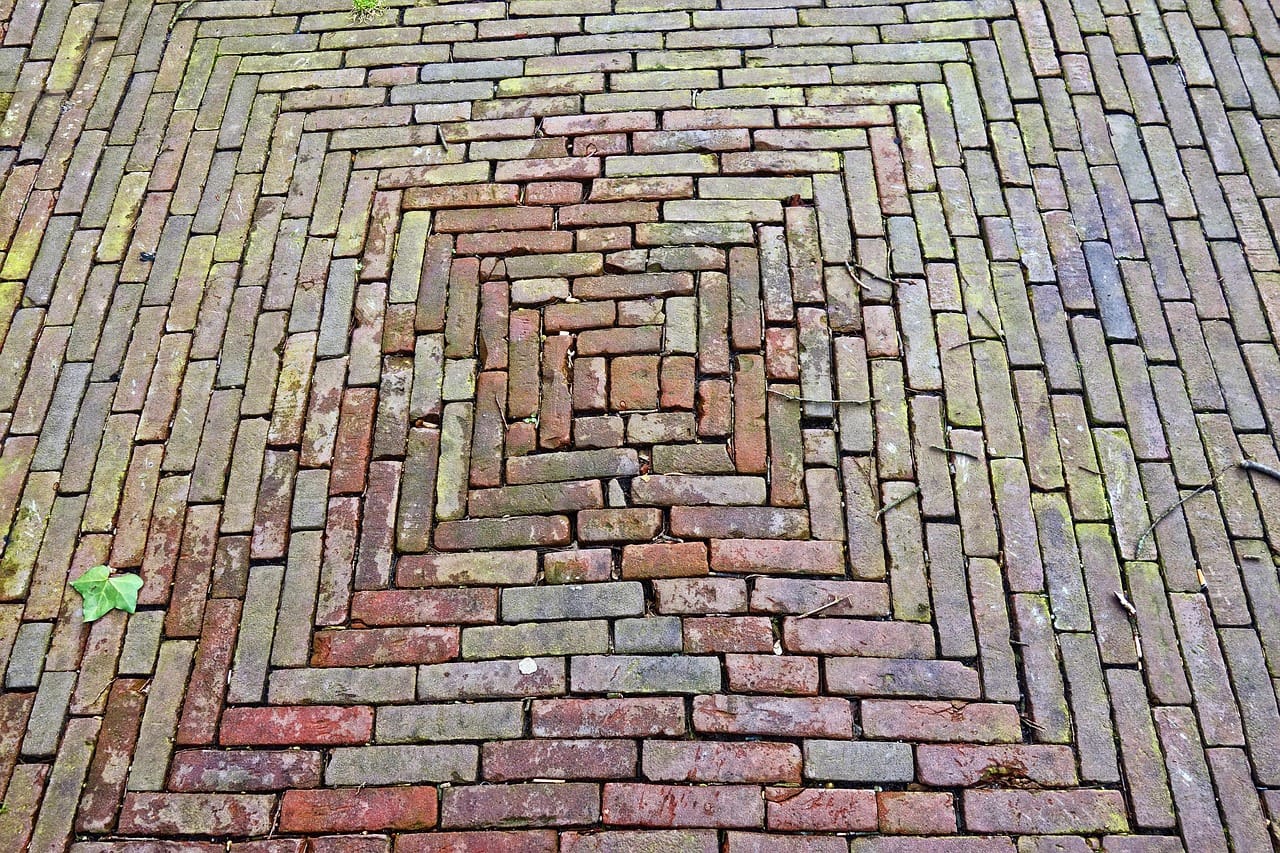
Ade chose a herringbone pattern, laid at 45 degrees. It looks lovely and is very strong, because each brick locks against its neighbours. It also means a lot of cutting at the edges, so he hired a cutting saw for a day.
Finishing
Once the bricks were down, he brushed dry sand into the joints, tapped the whole surface with a rubber mallet to settle it, and brushed in more sand. After a few weeks of rain, the joints firmed up.
The cost
| Item | Cost |
|---|---|
| Hardcore and sharp sand | £140 |
| Cutting saw hire (one day) | £55 |
| Compactor hire (one day) | £45 |
| Jointing sand | £30 |
| Bricks | Free |